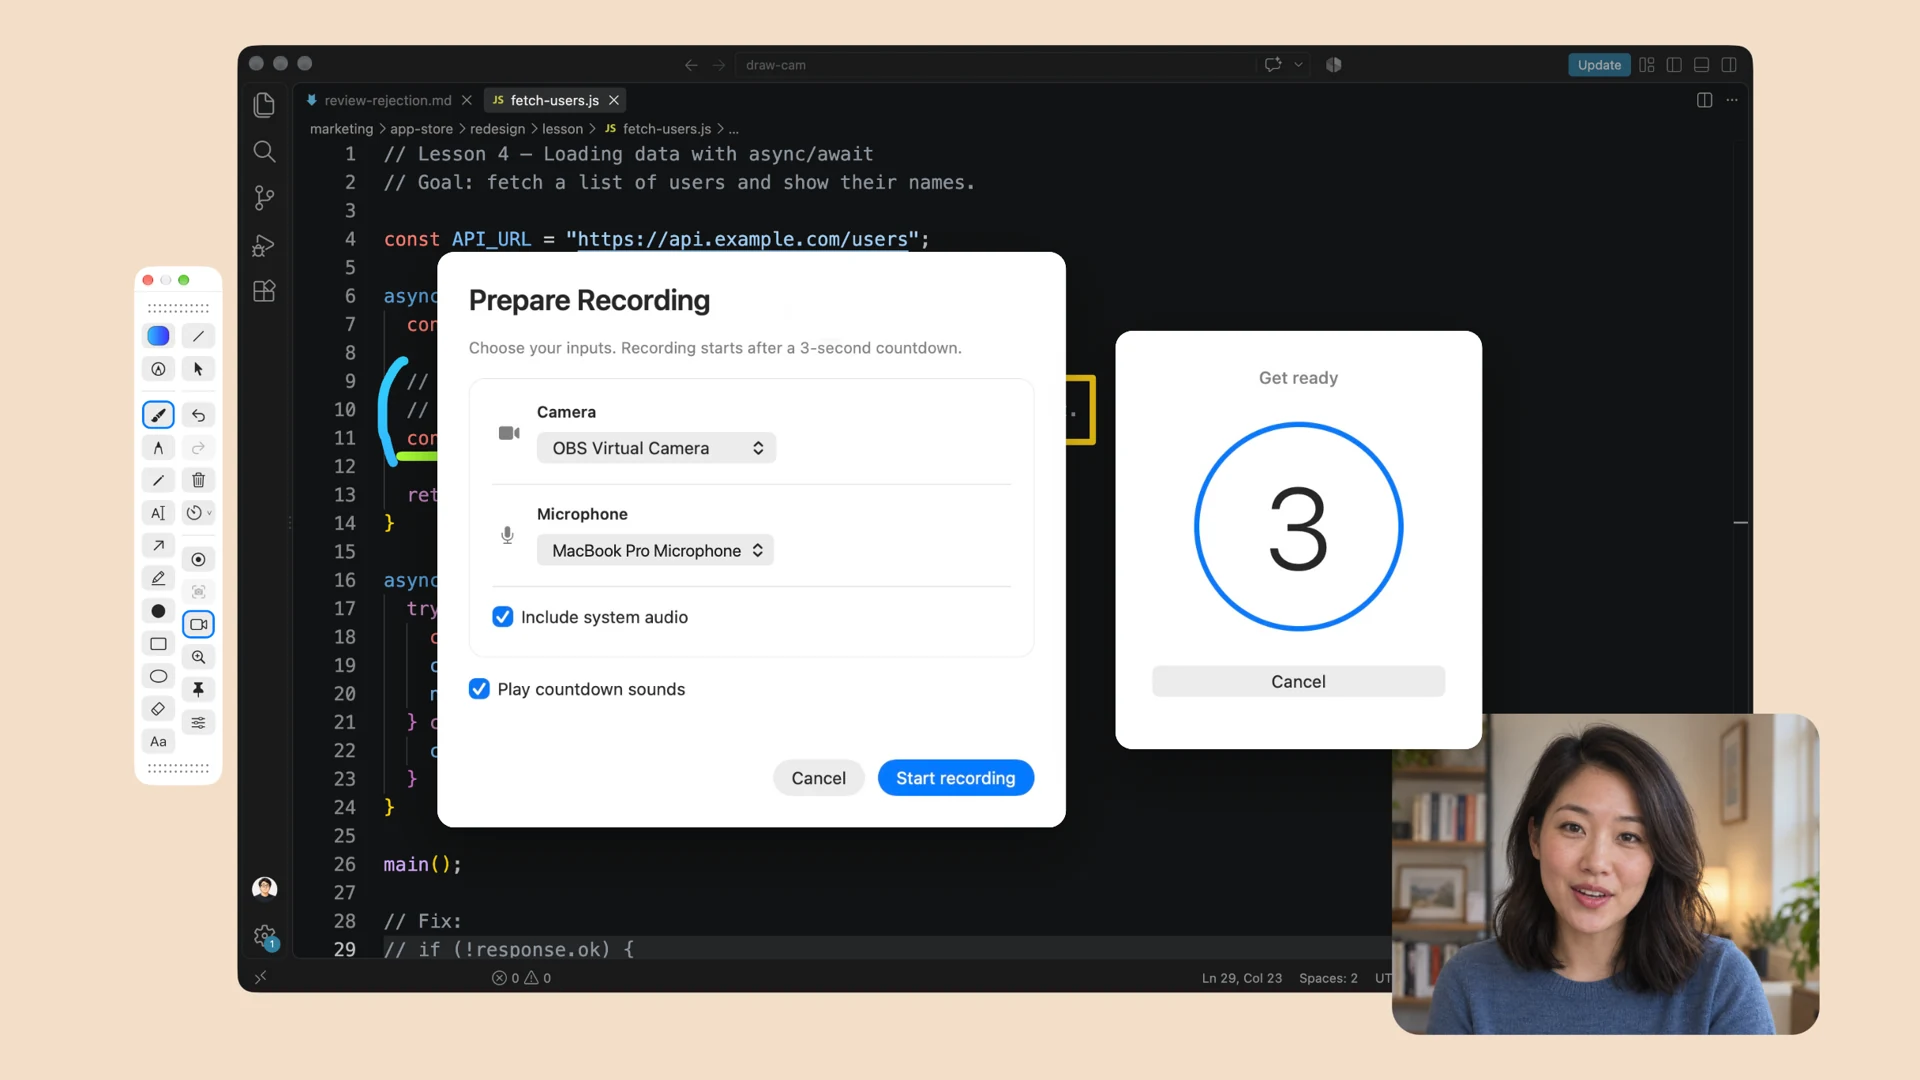

Ready when you are. 3, 2, 1.
Choose your camera and microphone before you begin. A countdown with sound gives you a moment to get ready. Turn off any input you don’t need.
 DrawCam
A Mac app for the way you explain
Your screen, presenter camera, voice and annotations. Together in one video. Make a lesson, walk through a demo, or save the moment as a screenshot.
macOS 14+ · Mac App Store
RECORD & CAPTURE
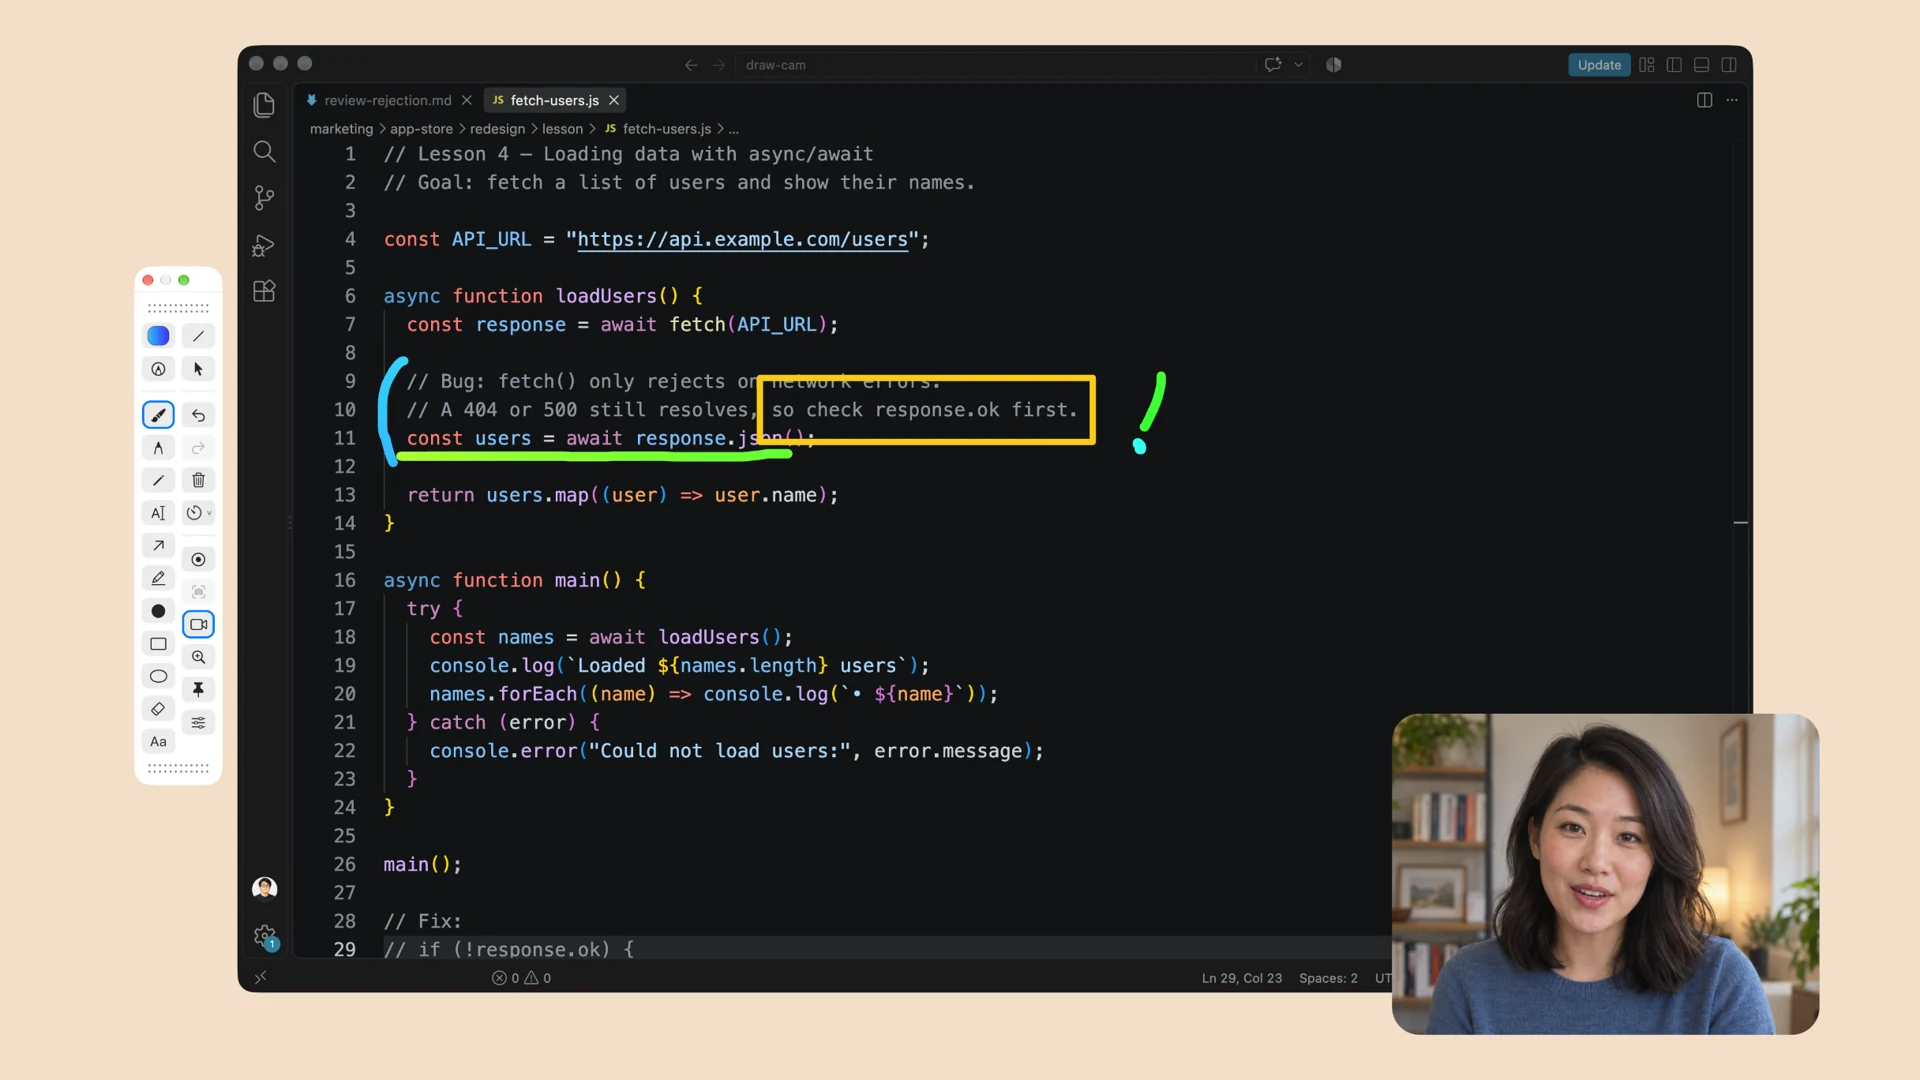
Put your presenter camera over your material and record them together. Keep the drawing and your narration in the video. The toolbar appears in recordings by default; turn on “Hide DrawCam windows from captures” in Settings → Capture to leave it out. Editing controls are always left out.
Choose your camera and microphone before you begin. A countdown with sound gives you a moment to get ready. Turn off any input you don’t need.
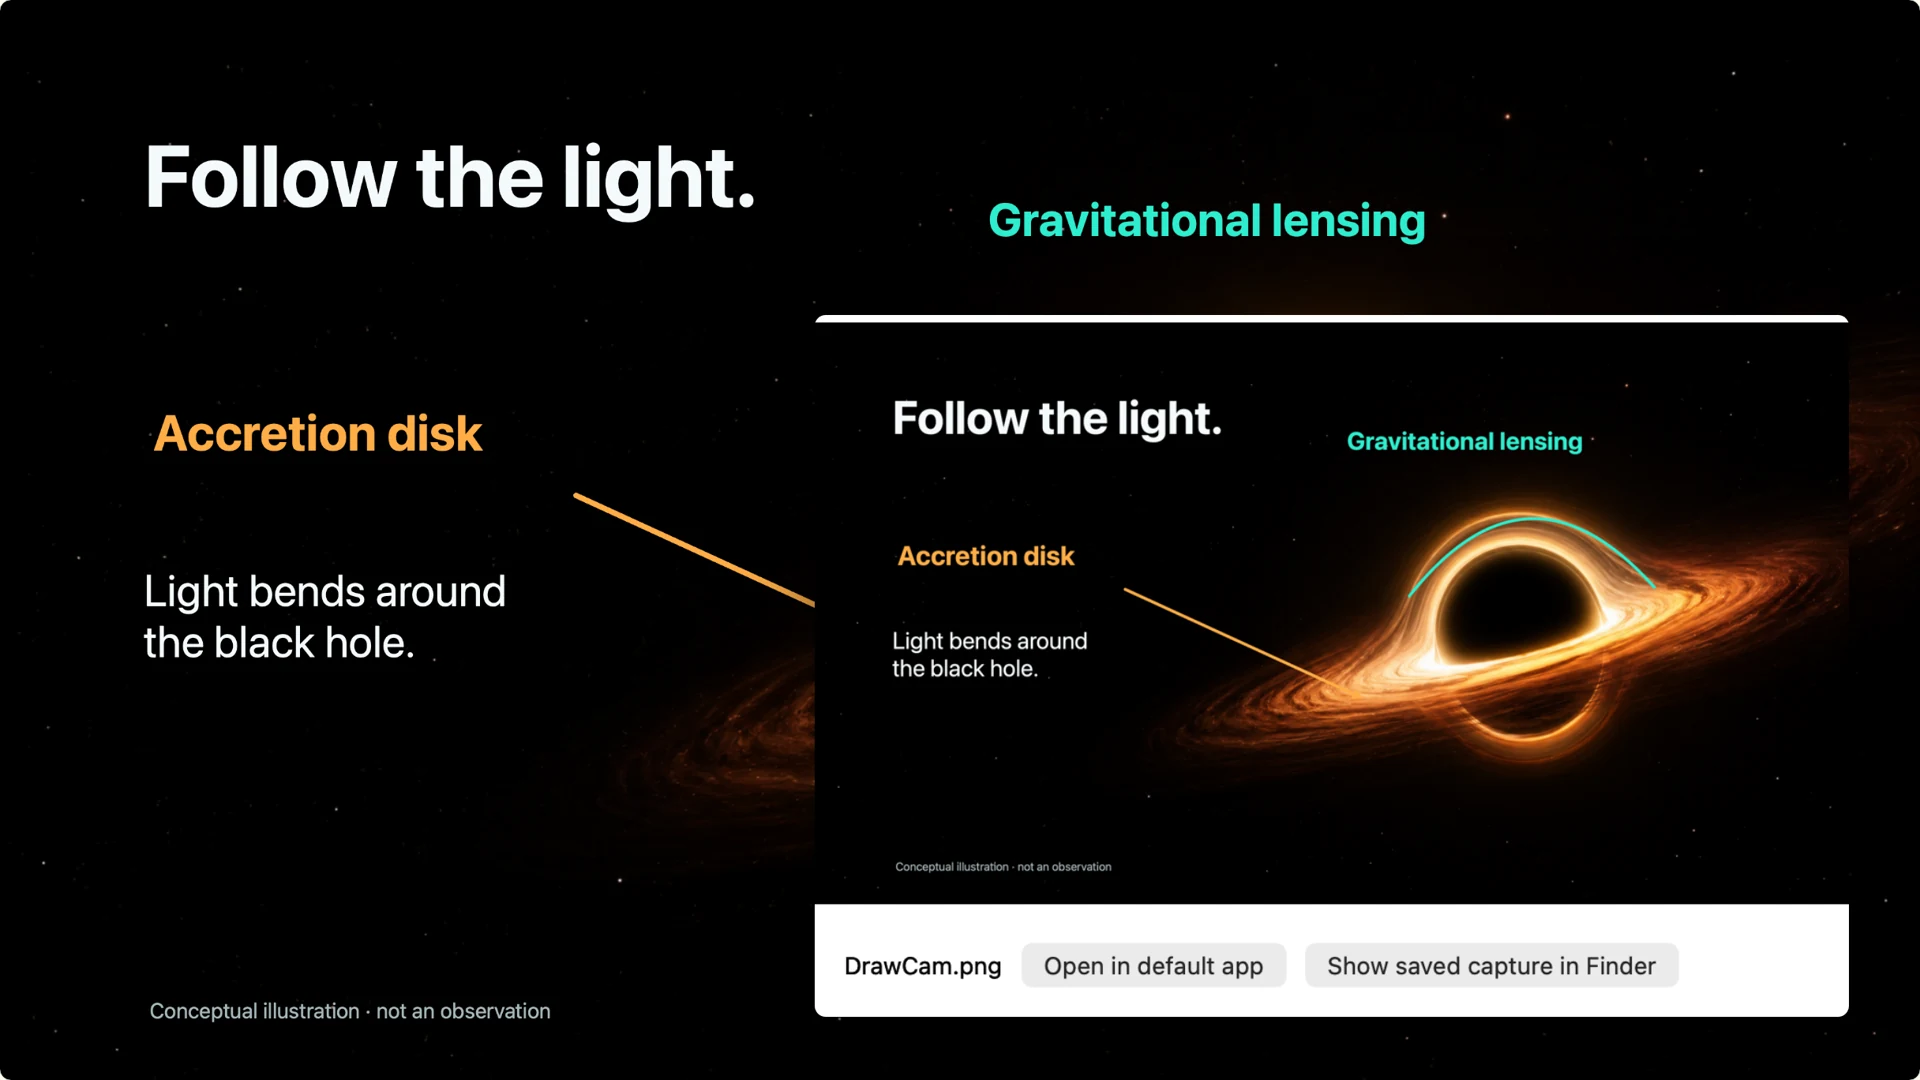

Save the current screen as a PNG screenshot. Check the result in the preview, open the image, or find the saved file in Finder.
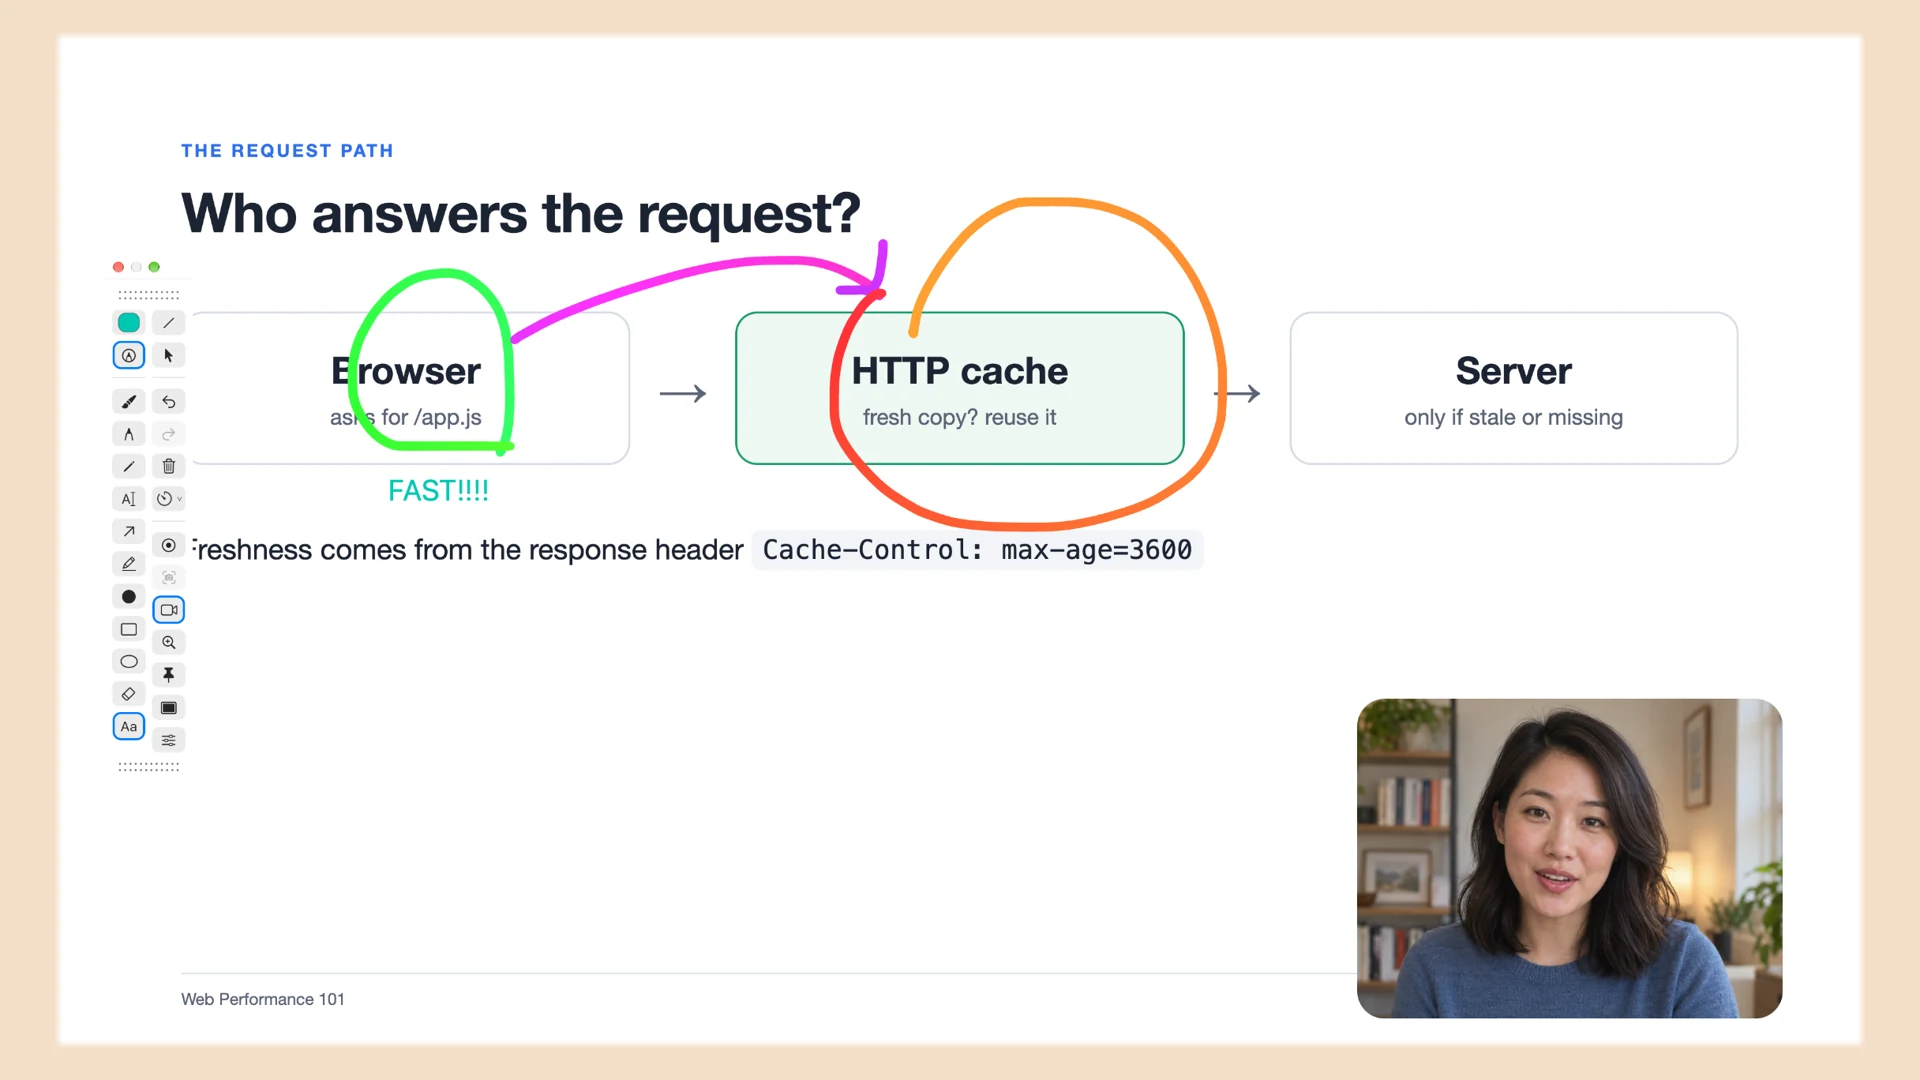

Circle, point and write right on your slides while you explain. Your annotations are recorded with the screen.
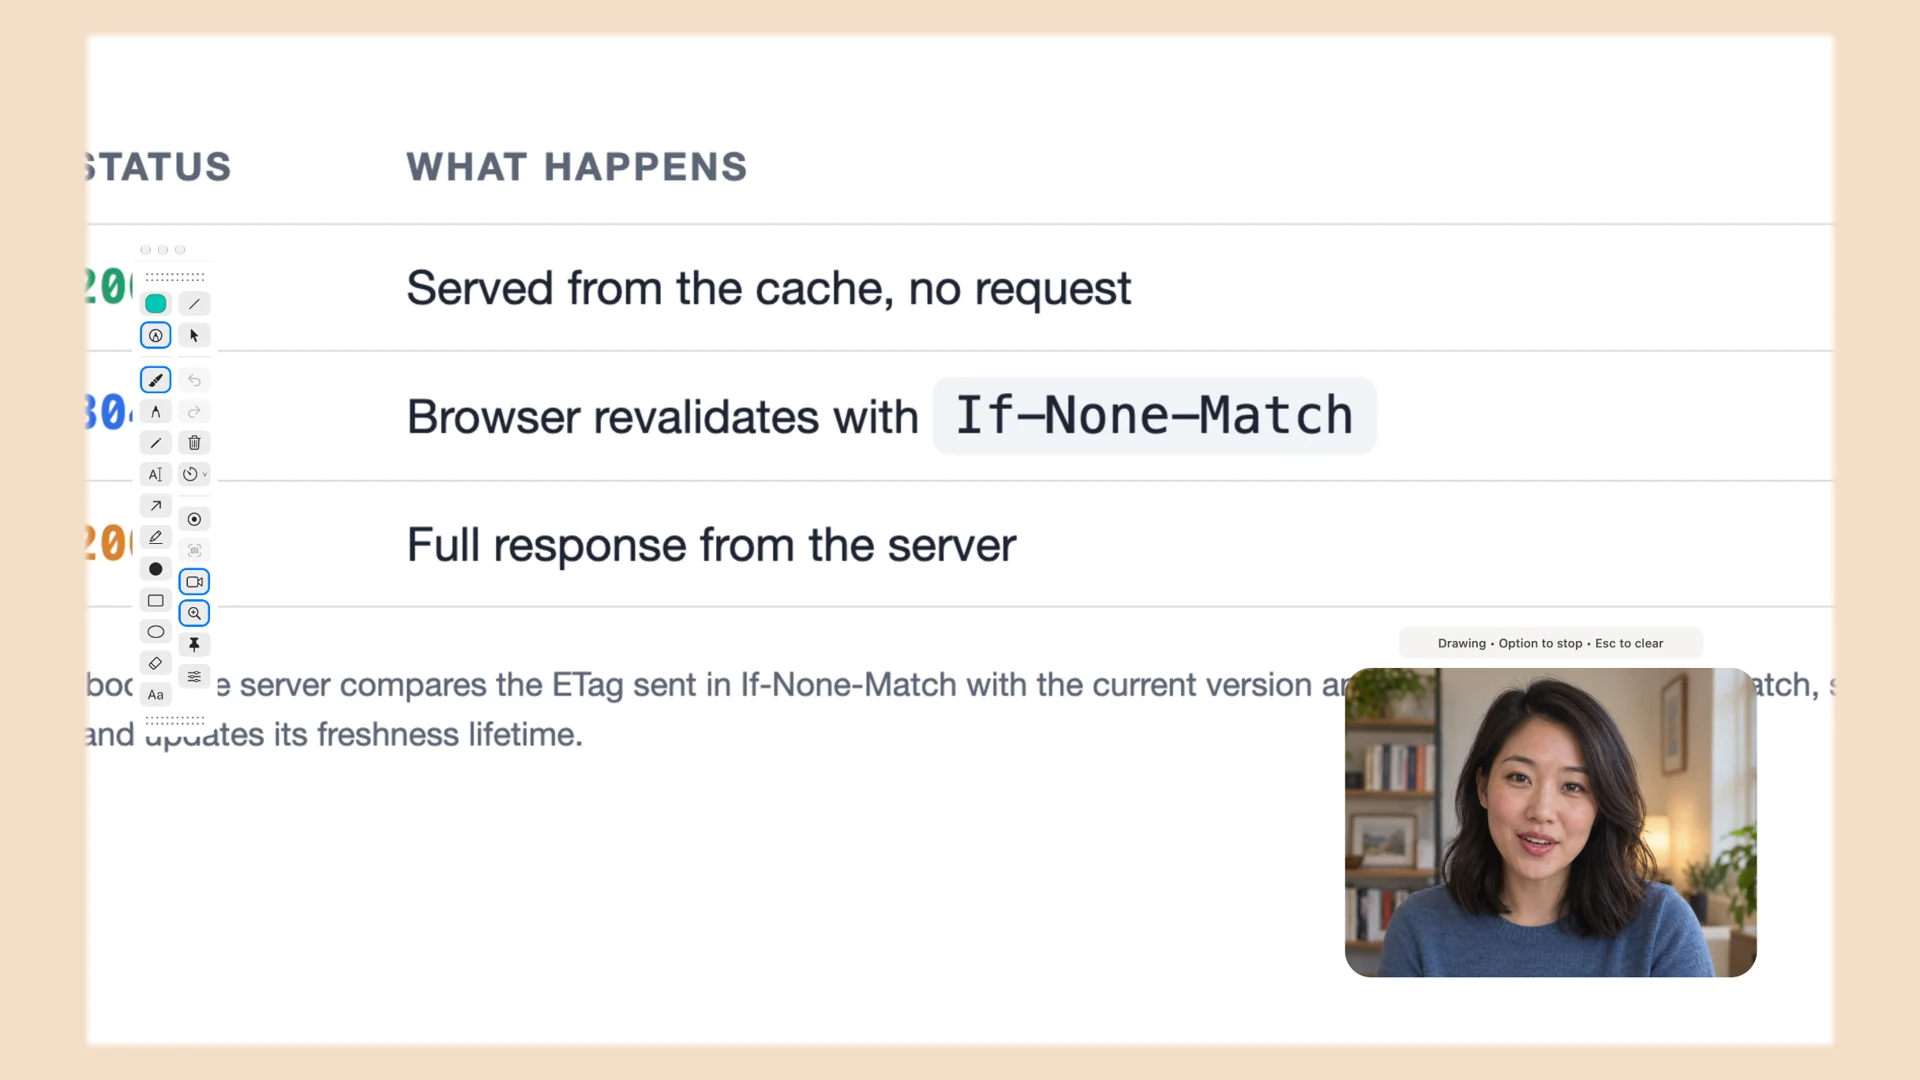

Hold ⌘ and Smart Focus magnifies the spot you are explaining. Let go to return to the full screen.
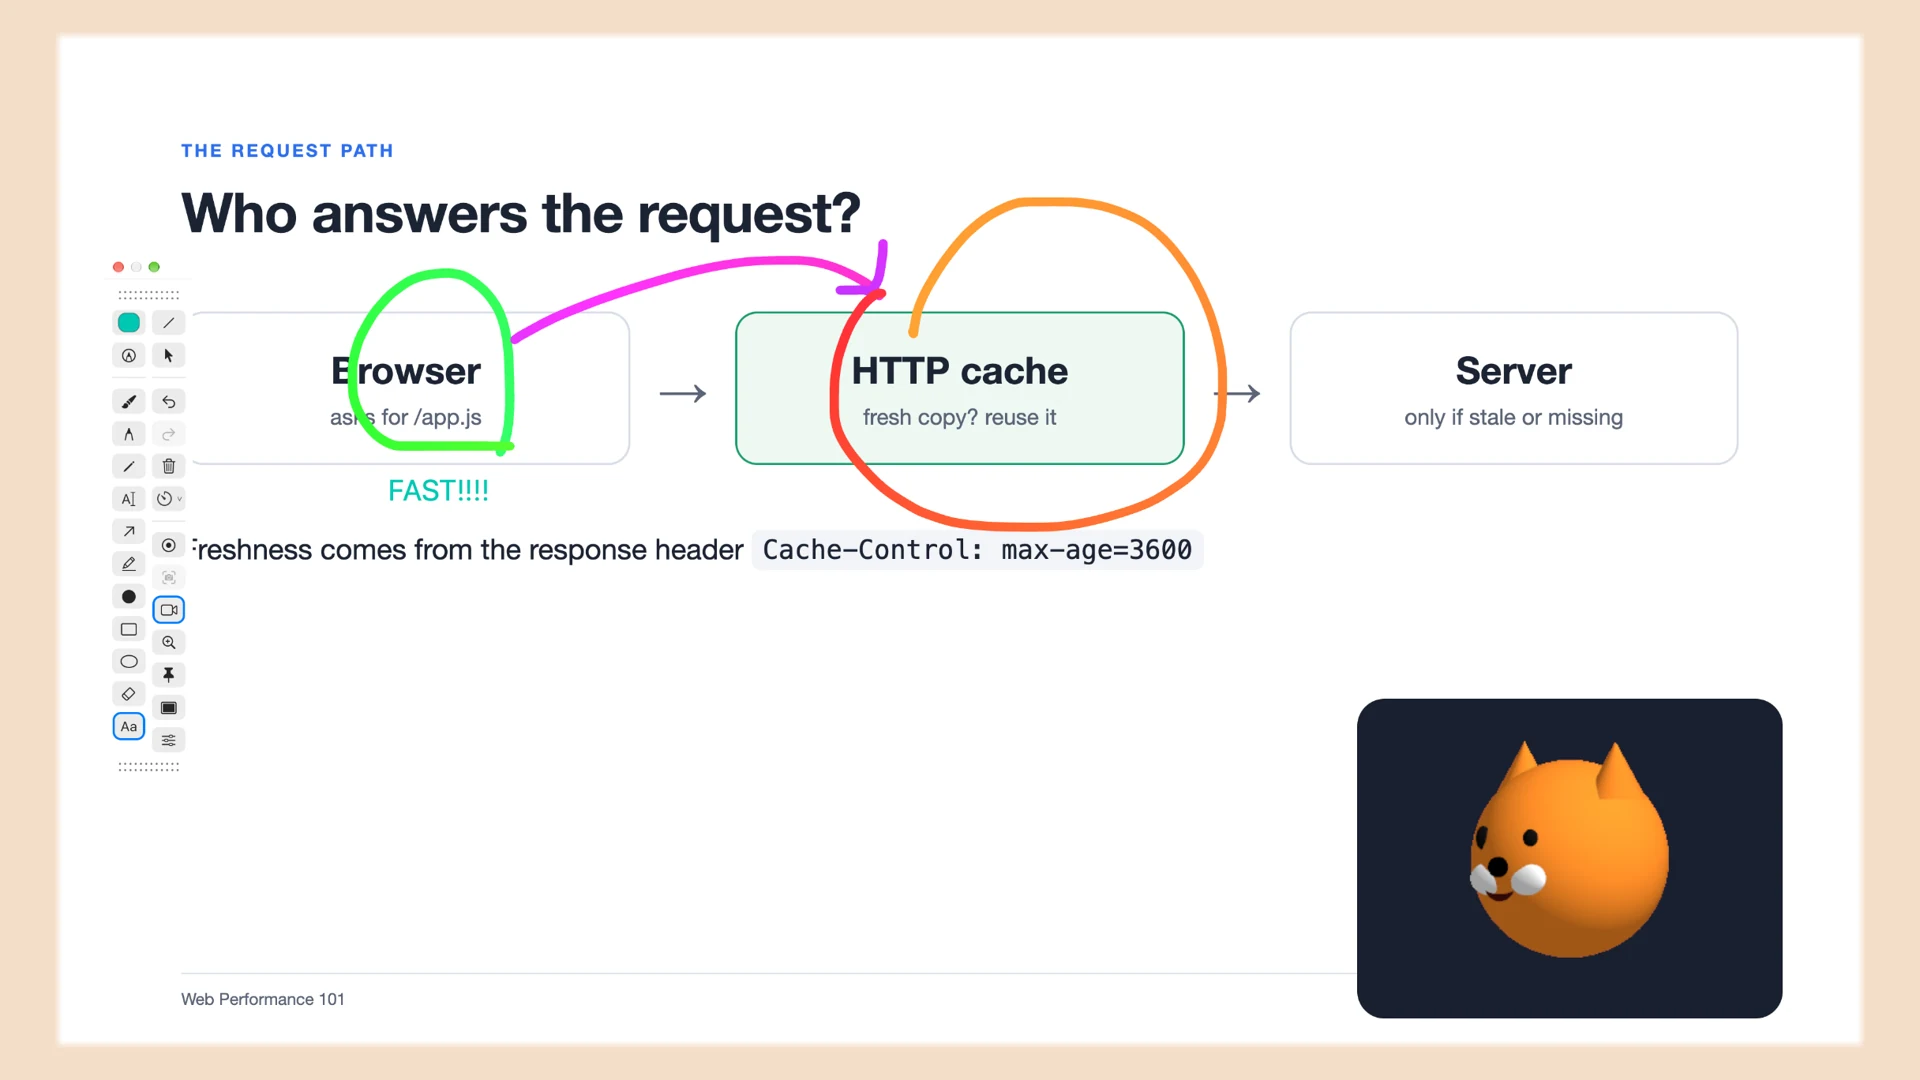
YOUR PRESENTER CAMERA
Move and resize your presenter camera. Give it a border, a shadow or a film look. Fine-tune face adjustments, or replace the entire camera frame with a 3D avatar.
THE COMPLETE TOOLKIT
Explore every toolbar tool using the same icons as the app. Add your favorites in Settings, change their order, and arrange them into groups.
37 features
Save your screen, annotations and presenter camera together. Choose a microphone and system audio, then start after a 3–2–1 countdown. Preview the saved video.
Save the current screen and presenter overlays as an image. Open the preview or reveal the saved file in Finder. The toolbar is included by default; Settings → Capture can leave DrawCam’s windows out, and editing controls are always left out.

Show or hide your camera overlay. Move and resize it, add a border and shadow, and choose how it gets out of the way while you draw.

Replace the entire camera frame with an animated character. Choose a smile, a male or female character, animals and more, with an adjustable skin color.

Choose a film-inspired LUT such as Warm, Paris or Noir, then dial in its intensity.

Adjust skin smoothing and tone, under-eye shadows, smile lines, face contour, eyes, a subtle smile and darkening of gray hair at the sides. Use the natural preset as a starting point.

Keep, blur or remove the background, or choose an image for your presenter camera.

Frame your camera as a circle, rounded rectangle or rectangle. Border and shadow settings give it definition against your content.

Switch between annotating your screen and interacting with the app underneath. The toolbar stays available for switching tools and colors.

Use the system color picker, favorite and recent colors, or rainbow ink that changes hue smoothly along each stroke. Changing color keeps your drawing tool selected.

Draw expressive, smooth strokes with width that responds to your input.
Write notes and sketch clear, flowing lines over your material.

Sketch with a textured pencil tip for a softer, grainy mark.

Write with the text pen to turn handwriting into typed text. Choose automatic conversion or review candidates, and set the recognition language separately.

Click and type directly on your screen. Edit the font, size, weight, color and alignment, then move or resize the text box.

Connect an explanation to its subject. Hold Shift to constrain the direction to 45-degree steps.

Lay down a translucent highlight so the material beneath stays readable.

Place a solid mark to call out a specific location.

Draw a clean straight line. Hold Shift to snap to 45-degree angles.

Frame a region, or hold Shift for a square. Enable a translucent fill; Option temporarily reverses the fill setting while drawing.

Circle a detail, or hold Shift for a perfect circle. Optional translucent fill helps a region stand out.

Adjust stroke thickness to suit a small detail or a large presentation screen.

Show a cursor halo, click effects, or both. Choose recording-only or always-on behavior, distinguish left and right clicks, and adjust shape, size, colors and opacity.

Dim the area around your pointer to guide attention. Adjust the shape, size, darkness and softness of the spotlight.

Follow your pointer with a magnifying lens. Choose the size, zoom, shape and border to reveal fine details.
Magnify the presentation screen with a Command-key hold or a pointer-following toggle. Full-screen zoom and the magnifier operate one at a time.

Switch to a white, dark or custom-color board. Your screen annotations and board drawings keep separate content and undo histories during the session.

Click an item or drag a selection area. Add items with Shift, move a group together, or delete the selection in one operation.

Remove drawing items from the canvas and use Undo if you want them back.

Step back through drawing, text edits and selection changes with Command–Z.

Restore an undone action with Command–Shift–Z.

Clear the current canvas so your next explanation has room.

Choose how long temporary annotations stay visible before fading out gently. Hold Control for a per-stroke override.

Dock the toolbar at the top, bottom, left or right of your screen. Side docking uses a vertical layout and locks dragging until undocked.

Reorder icons by dragging, add optional tools, customize shortcuts and choose horizontal or vertical layout. A long toolbar wraps; restore the default groups anytime.

Add or remove dividers in toolbar settings to separate your tools into groups.

Drag either end of the floating toolbar to move it. Handles grow with the toolbar when it wraps onto a second row.
ROOM FOR YOUR NEXT IDEA
Switch to a whiteboard for a fresh explanation. Your drawings on the screen stay separate, ready when you return.
Explore the whiteboard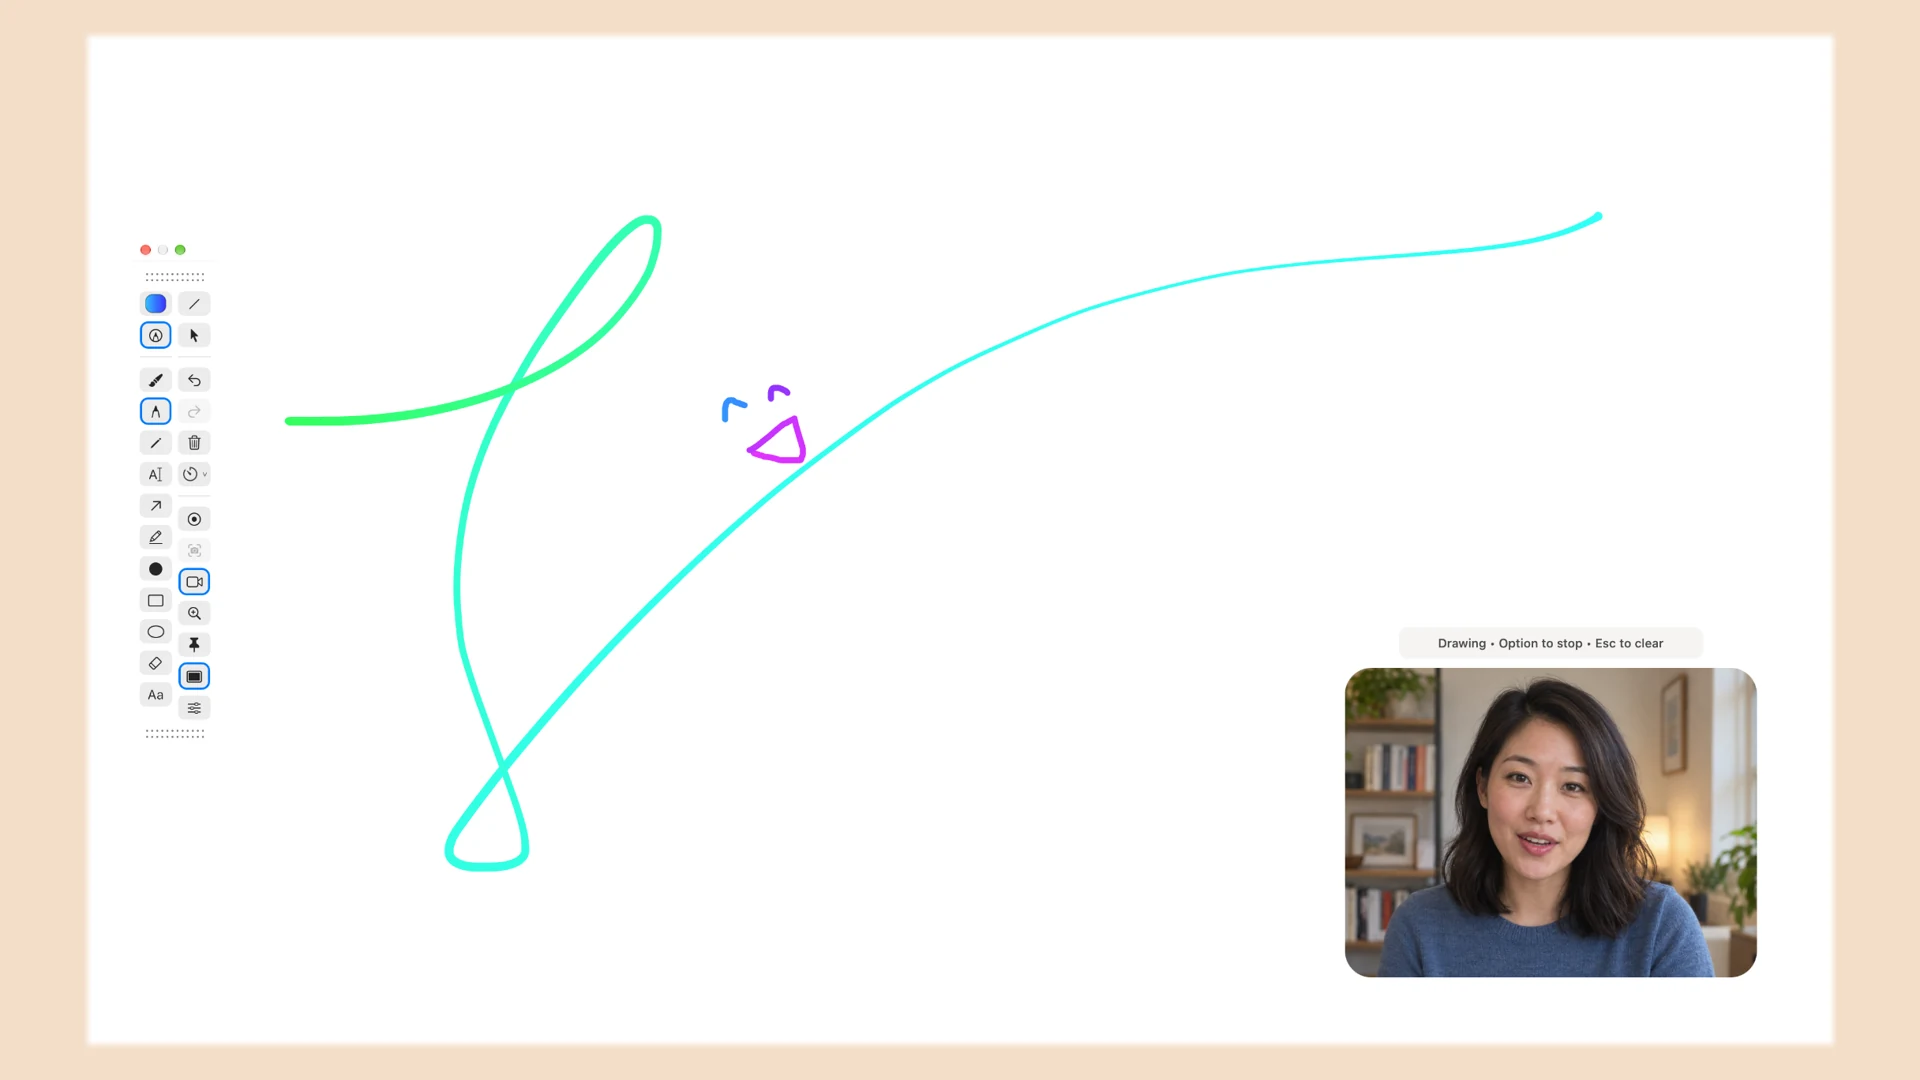
MADE FOR YOUR FLOW
Move the toolbar by either handle, or dock it at a screen edge. Choose a horizontal or vertical layout, automatic wrapping, group dividers and custom shortcuts. Restore the default arrangement anytime.
DrawCam is available on the Mac App Store. It requires macOS 14 or later.
English, Korean, Spanish, Japanese, Simplified and Traditional Chinese, German, French and Brazilian Portuguese. This website is available in English and Korean.
Screen capture and magnification need Screen Recording permission. Camera and microphone permissions are requested when those inputs are used.
In DrawCam’s own recordings and screenshots the toolbar appears by default; turn on “Hide DrawCam windows from captures” in Settings → Capture to leave it out. Editing controls and the shortcut guide are always left out, whatever the setting. Other recording and screen-sharing apps show the toolbar unless you exclude its window in those apps.
Recognition uses a separate language setting. Available languages and accuracy depend on your macOS version, input language and handwriting.
Screen images are actual DrawCam captures. The presenter in the camera overlay is a generated image played through a virtual camera, and the recording-setup scene combines separately captured windows. The space image in the screenshot example is a conceptual illustration.